Pages

Wednesday, July 31, 2013

JULY 2013 Project Finale

It's been another busy and stitch filled month around here!
My aprons are boxed are ready to head their way to NC where they will hopefully bring lots of entertainment and joy to their recipients. 
Thanks to all who jumped in to be a part of this giving back effort, and a VERY SPECIAL THANK YOU to Bonnie at Fishsticks Designs for the incredible, easy-to-follow pattern she created for our project! 

Stick around, another exciting sewing opportunity just around the corner! August Project announced tomorrow and it's a great way to give back with your stitching skills!
See you then!
Photobucket

Tuesday, July 30, 2013

My First Quilt....A Finish and Lessons Learned Along the Way

I have always admired quilters. 
Having now completed my first quilt, I have a whole new level of respect for these fabric piecing artists. I would consider myself an experienced seamstress....and while yes, I have now finished a quilt, I think it takes a lot more to become a "quilter".


This quilt started MONTHS ago!
Even longer in my head. But, as I began to have a real idea of the type of quilt I wanted to create as my first, I began bouncing ideas and questions off of my quilt talented friend, Melissa/Sew BitterSweet Designs.  Melissa shared a wealth of advice and tutorial links and before I knew it, I had supplies gathered and no excuses remaining to delay my start any further.

And so....without a pattern or much detailed instructions, because I'm one of those "On A Whim" kind of gals, I started!

I knew all along I wanted to make an I-Spy quilt for my kiddos. I figured it would be something they would love regardless of the guarantee of flaws it was destined to include. I was especially fond of the ones I had seen that followed a rainbow theme, but wasn't exactly sure how this would all come together for me. 

I had been collecting & creating I-spy charms for a very long time.

I decided early on that QAYG (Quilt As You Go) was going to be the best option for me. I figured it would be a lot easier for me to quilt the smaller sections and then piece them together rather than quilting the entire finished quilt. I think this was the right decision, as I struggled with lack of space and a small machine base even with the minimal quilting needed to attach the backing. 

I went with a 9-patch for the I-spy blocks, each with a color focus, so I could have a sort of rainbow effect to the quilt. I stitched just inside of each of the charms for the quilting.
I sashed the blocks with a dark gray Kona....thank you again Melissa for this suggestion, LOVE the gray! I quilted straight, spaced lines for these pieces.

Then I bordered the entire thing with a rainbow chevron that I had originally purchased as the backing....but later changed my mind thanks to the input of all of you who shared your thoughts on my alternate option. I really love the alternate option too! Since I was doing QAYG, I decided that I would quilt between each colored chevron along the border. I absolutely love the finished look of this, but OH.MY.WORD that was so time consuming!!!! :) 

And since I still am no good at Geometry....the one subject I never tackled in high school and that kept me from quilting for a very long time.....I made some miscalculations on the border. Hence the addition of the puzzle print and magnifying glass patches added at the corners. These extra pieces did at least allow for some additional quilting practice.


In conclusion....what I have learned about quilting.....
I have A LOT left to learn! :)
It requires A LOT of patience. Maybe more than I have on most days! lol!
Rarely do things go together as easily as you'd like to imagine they will.
You must have at least 1...possibly more...sharp seam rippers on hand.
It's VERY messy!
And....
You either have to REALLY love quilting or REALLY love who/why you are quilting for to stick with it at times.
When it's all said and done, washed and rippled and handed to that sweet child that has been asking for months if it is done yet, and his little face lights up as he runs away with his arms full of it.....well, you realize it was EVERY BIT worth it.
And finally....and maybe most importantly....the flaws don't matter. The "Perfect Quilt" is the finished quilt. And yes....once the labor pains of this one has disappeared from my memory, as I know they will, I will most definitely be making another. Maybe just with a pattern and little better prep this time! ;)

And so, it indeed is a FINISH!!!! :)
Blood, sweat and almost tears included. But.....
A finish I am so thankful I didn't give up on and am so proud to watch my kids play with and cover with and know we will all enjoy it for years and years to come. 
Photobucket

Monday, July 29, 2013

The Significance of ONE

I need this reminder myself every now and again, and so I thought some of you might as well.

I often say that EVERY STITCH MATTERS, and I truly believe it does.
I wouldn't be doing what I do if I didn't. 

The significant impact that 1 kind deed can have is immeasurable. 
Consider with me......

For the little girl that has the very first new dress of her own....
Dress A Girl Around the World
For the sick child given the comfort a soft and special blanket can provide....
Binkeez For Comfort
For the cheer & encouragement a pair of personalized, hand-painted shoes can bring....
Peach's Neet Feet
(Yes! That is my Lil' Buddy Eli rockin' his kicks with his awesome mommy & big sis!)
For the young lady that is getting a chance at an education....
Days for Girls
For the calm and reassurance of having a friend by your side...
the FLUFF Project
This is just a glimpse of the ways you can be a part of using your unique gifts and talents of handmade to bless, encourage and care for another. There are SO many incredible organizations out there doing this kind of giving, and YOU can be a part!

It matters.

Every. Single. ONE!

Click on the images above to learn more about each of these beautiful organizations....you'll be glad you did!
Photobucket

Friday, July 26, 2013

A QUICK & EASY way to make a Fidget Apron for the July Project!

Running short on time and/or materials?
Then this is a perfectly simple way for you to still get to be a part of the July Project sewing here in support of patients living with Alzheimer's, Dementia and similar.

I fond this new, ready-made apron at a local thrift store for $3. 
All I had to do was add a variety of "fidgets" to the front of the apron, and VOILA! An item ready for donation to our July Project!

Inexpensive. Quick & easy. A gift that will make a difference in the life of someone else. 
We are in the final days of our JULY Project sewing and I invite you to join in and show your support however you can! Thank you in advance for caring!

Photobucket

Wednesday, July 24, 2013

Apron Progress + FINAL WEEK for our JULY Project!

 Anyone else sewing Busy Hands Fidget Aprons in support of our July Project??? :)
If so, we'd LOVE to have you share pics in our flickr album here

This is the final week of sewing for this special project and I really hope to see some enthusiastic participation as we seek to offer care and encouragement to patients and caregivers living with Alzheimer's, Dementia and the like. 

I've really enjoyed sewing these and have finished a couple more to add to my box.
For a female patient....

 And one for a male patient as well.
 I'm having so much fun with the variety of "fidget" possibilities!

There is still time for you to sew along! 

Thanks for caring by sewing the way you do!
Photobucket

Monday, July 22, 2013

Lots of Works In Progress!

No big finishes to share from the weekend, but I did make LOTS of progress!
Here's a bit of what I'm stitching on....
Dolls....Dolls....Dolls!!!! Some for gifts, some to sale and some for the FLUFF Project!
Finishing up the final boarders for my quilt so I can finish the top and then hopefully have the whole thing done by my goal of the end of the month!
More lovely dolls, these sewn from gorgeous panels donated from Stacy Iest Hsu Designs and will be donated to the FLUFF Project.
  I also have a couple more JULY aprons to share this week and this GORGEOUS bundle waiting to become new curtains and pillows for my daughters' newly redecorated bedroom. Can't wait to see these finished!

A lot of stitching ahead, but thankfully a lot of progress behind as well!
Wishing you all a GREAT WEEK!
Photobucket

Friday, July 19, 2013

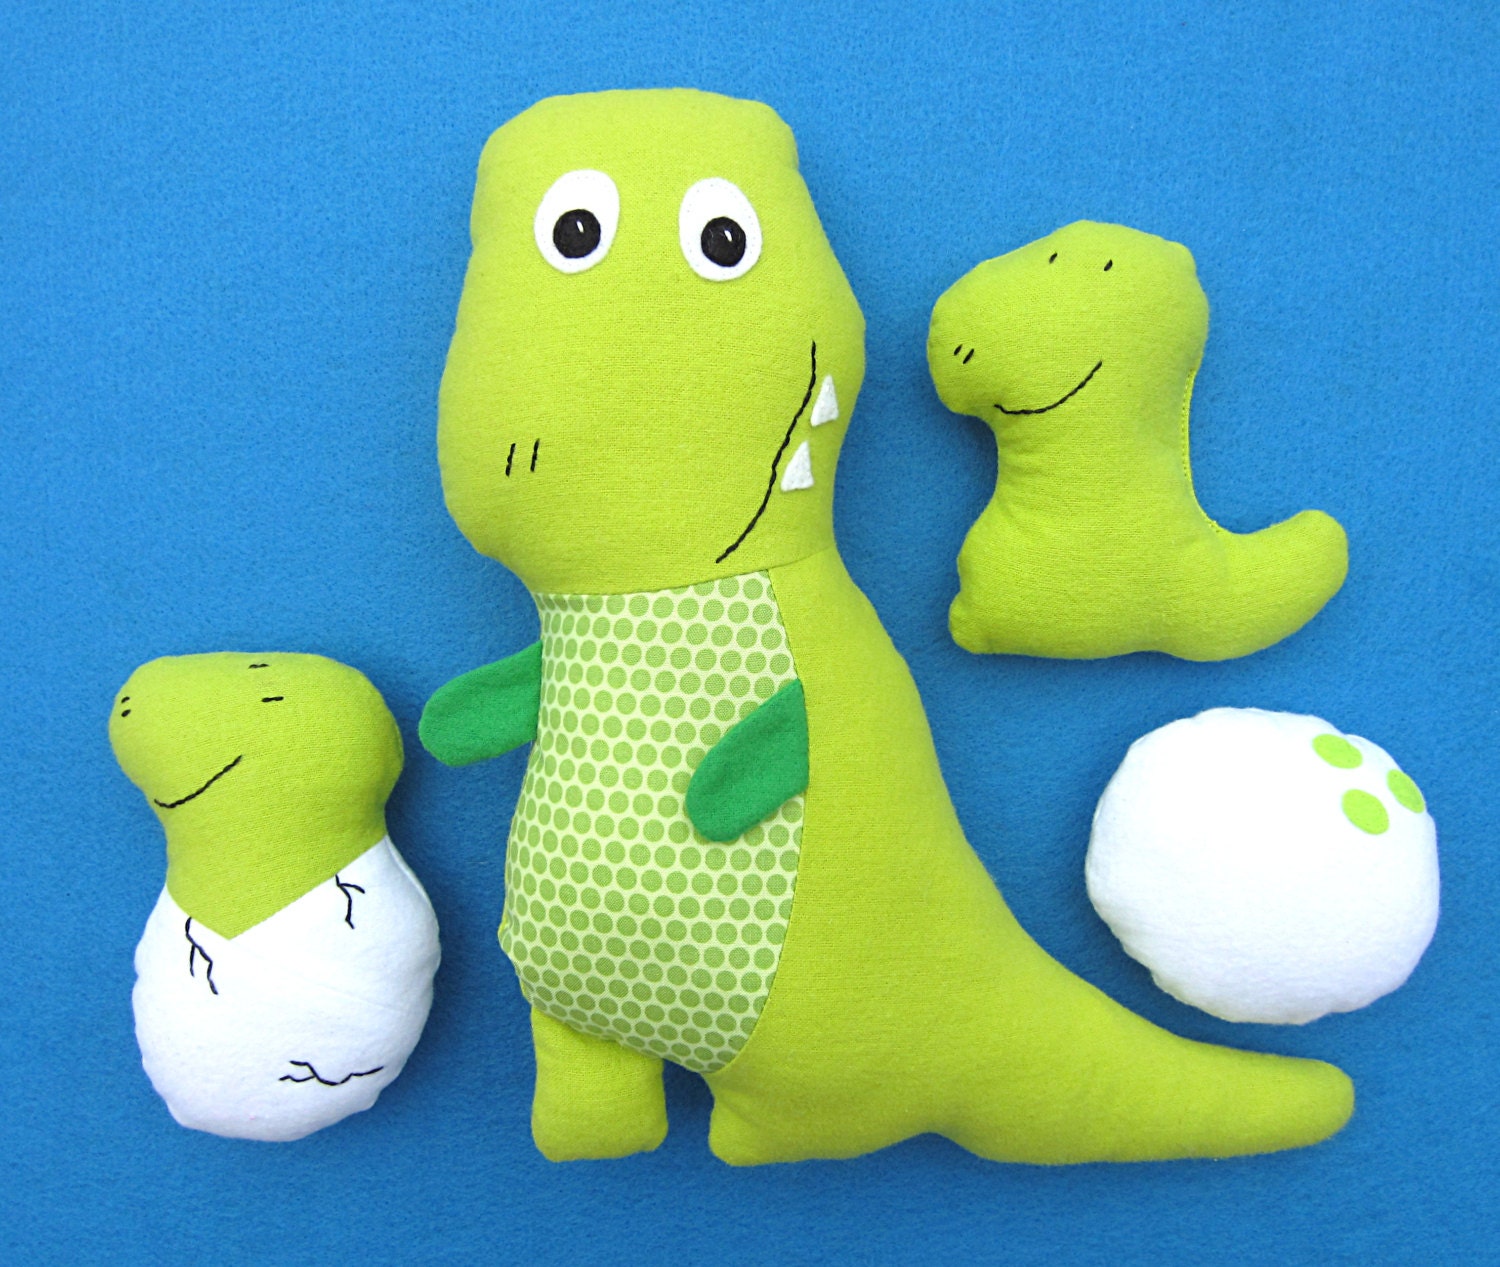
Pattern Review - Tony T-Rex by My Funny Buddy

Brace yourself for some serious fluffy cuteness!
This is the newest pattern from My Funny Buddy, Tony T-Rex.
I adore him!
My littlest guy loves the "hairy" green fabric and I have been looking to make him something using it for a while now. Obviously we found the perfect thing! 

Like all My Funny Buddy patterns, this is a comprehensive PDF sewing pattern that includes step-by-step photos and written instructions. Nothing, down to the smallest details on stitching the facial features, is left out. I did all the facial stitching on my machine, but there are instructions included for hand-stitching as well.

The pattern pieces fit together easily and accurately and you are ready to get sewing as quick as you can select your fabric choices!

And since I can rarely make just one of anything, and these were such fun to watch come together, I made a couple extra of these cute lil' fellas. I intend to use them in support of the FLUFF Project either as a donation themselves or as part of a potential sale/auction....not sure yet. 

Such a friendly guy!
You can find the Tony/Tracy T-Rex pattern in the My Funny Buddy shop here.

+++AND+++
As an extra bonus, My Funny Buddy has created an additional pattern for a My Baby Dinosaur that you can download for FREE! It includes the egg, hatching dino and baby dino all....and for FREE! Find it here. And if you do download it, be sure and take a minute to drop by the My Funny Buddy facebook page and say THANKS! :)
Before you know it, you could have your own Dino Family stitched up! And yes.....I do have an 'in house' request for such now! ;)

SUMMARY
Sewing Experience Level: Beginner
Size Range: N/A
Special Techniques: Sewing and stuffing small doll/stuffed toy parts.
Pattern Format: PDF
Materials Used: Cotton prints, textured and chenille fabric scraps, felt for eyes & teeth
Personal Notes: Adorable, easy to sew, pleasing project. Perfect toy for all ages!

Photobucket

Thursday, July 18, 2013

Sewing Essential - Seam Fix ...a different kind of seam ripper.

I use to think a seam ripper was a seam ripper, so long as it had a sharp blade. I mean there are some that are prettier than others, but when we are talking practically about getting the job done, never saw much of a difference. 

But now.....I have to say, this little gadget has won me over!
This is the Seam Fix.
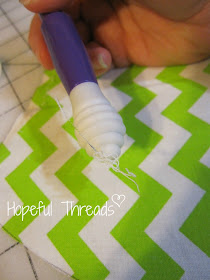
 What sets it apart is this rubbery tip on the cap....

When ripping out a seam, you use the Seam Fix just as you would any other seam ripper.

This is where it gets fun!
After you have ripped the stitches out, you are left with all those little thread trimmings. Pop the cap back on your Seam Fix, use the rubber tip to rub over the ripped threads.....
 .....and it pulls them out of the fabric and picks them all up neatly!
 Now you are left with a nice and neat fabric ready to be resewn. 
What about that!?!?!  Pretty clever huh?
I have found a new favorite seam ripper. :)
The Seam Fix costs about $6 and can be found in most any sewing/quilt shop that sells Dritz sewing/quilting tools.

As a disclaimer, I received this item as a gift to try. The opinion shared is my own.
Photobucket