Pages

Friday, March 30, 2012

Dolly Donations - An Ongoing Opportunity! (and free dolly pattern links!)

If you have enjoyed creating plushies for donation this month or haven't yet had a chance to, I wanted to share an on-going opportunity for you to continue giving back this way.

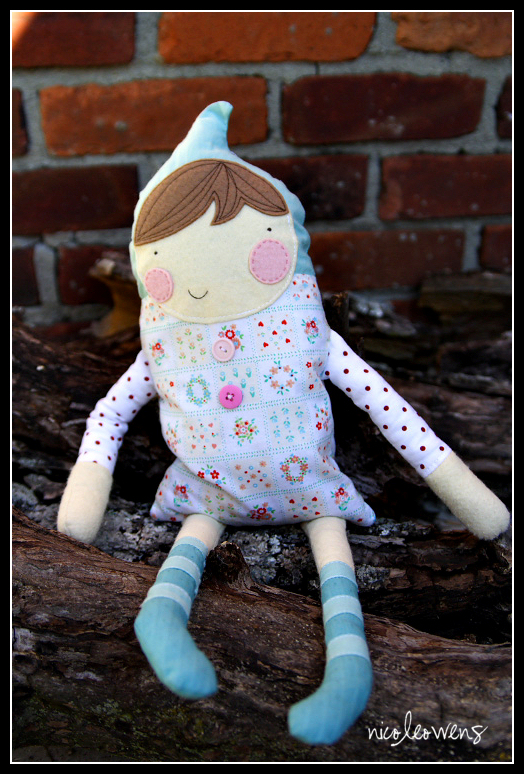
Dolly Donations does just that! Click the image above to learn more and find out about current opportunities for you to participate. Additionally, you can find this free dolly pattern provided by Dolls & Daydreams...
This site also provides LOADS of information and creative tips for sewing dollies.

Here's some other links to free dolly patterns/tutorials I think are super sweet too.
Black Apple Doll at Martha Stewart.com
Softie Doll by Seventy Piggies
Rag Doll by Becoming Martha
Keep sewing and spreading that squishy, softie love!

Thursday, March 29, 2012

Pattern Review - Bubble Romper by Whimsy Couture

If you are looking for a super cute and super quick summer outfit to make, the Shirred Bubble Romper from Whimsy Couture is it! I was restless the other night and not ready for bed, so decided to give this a try. It went from a thought in my head to finished in just a couple of hours and I'm tickled with the adorable results!
  
The pattern, by name, does require shirring. I tried a new elastic thread recommended by and purchased  from Pink Fig and I must say, I am sold! Much better shirring results! The brand is Stretch-Rite and it's what I'll be using from now on!
I didn't even have to steam it to get it to gather like this!

The pattern also includes instructions for making fabric flowers like the one I attached to the front. The darling gingham button is from Riley Blake Designs.

I used a printed satin ribbon for the ties and love the sweetness it adds! The pattern instructions include other options also.

Whimsy Couture patterns were some of the first PDF patterns I ever used. Her selection continues to grow and she is a super nice person, always eager to help when needed! I have many of her patterns in my collection and will most definitely be making this sweet romper again....probably very soon! :)

Summer sewing is on!

Pattern: Shirred Bubble Romper by Whimsy Couture
Fabric: Main Mushroom Print/Micheal Miller, Pink Pin Dot/random cotton
Other Materials: Printed Satin Ribbon tie, Gingham Button from Riley Blake Designs

Wednesday, March 28, 2012

Free Ocean Themed Softies Sewing Links!

This may be my favorite free softies tutorial collection yet! And yes, maybe that has a bit to do with the fact that at this very moment I would love, love, love to pack up my family and disappear to a beachy getaway with lots of sun, sand and late nights piled on the sofa....but still, these guys are C.U.T.E and Free to boot!!!
Oopsie Octopus by Melly & Me 
Seahorse by Lia's Crafty Journey
Sammy Squid by Bit Of Whimsy Dolls
Mermaiden by Wee Wonderfuls
There's still plenty of time to sew and donate a plush friend this month!
Making one of these will make both you and someone else SMILE! :)

Tuesday, March 27, 2012

Child Sized Reusable Shopping Bags...My VERY first tutorial! :)

This was the very first tutorial I ever wrote and shared in blogland! I shared it on a personal blog before I had started Hopeful Threads. It's super cute and I thought some of you might enjoy it, so, today I'm sharing it here!

Child Sized Reusable Shopping Bags Tutorial
I wanted to make some child-sized reusable shopping bags for the kids to use when they play store. I couldn't find a child-sized pattern anywhere! However, I did find this great tutorial for making regular sized ones, so using this full size bag tutorial as inspiration, I came up with one of my own for the kiddos. Here it is! :)

Make your pattern template. I traced this on cardboard from the recycle bin. 10 1/4" wide, the handles are approx. 5" long and 2" wide. You can use any round edge to help make the curve at the top of the bag.


Select the fabrics for both the outside and lining of your bags. We found this adorable grocery print for a ridiculous deal at a moving sale and bought all they had! Paired it with a simple red with white pin dot and just love it!
Cut 2 of each fabric.
Sew the outer fabric pieces right sides together along the sides only.
Repeat for lining fabric pieces.
You can finish the seam with a zig zag stitch or serger if you have one, like this.

Whether serged or not, press seams to one side, not open.
Turn outer fabric right side out and place inside the lining fabric that is still inside out.

Pin the outer fabric and lining together, beginning at side seams. Position the seams on opposite sides so there will be less bulk when stitching, like this.

Continue pinning all the way around top of bag being careful to match up curves smoothly.

Sew the top of the bag, leaving the top of the handles open.

Trim the seam allowance and carefully clip (or pink!) the rounded curves.

Turn the bag right side out and press neatly, lining up the seams of the outer fabric and lining.
Topstitch around the top of the bag continuing to leave the top of the handles open. Topstitching will give your bag a finished look as well as keep the outer fabric and lining in position.

**If you don't want gussets on your bag, skip this next step.**
To form gussets at the bottom of your bag, turn your bag inside out and fold the sides in toward the center about 1-1 1/2" and pin in place at the bottom.

Whether making gussets or not, stitch completely across the bottom of the bag.
Serge or finish with a zig zag stitch the bottom of the bag.

Keeping the bag inside out, sew the tops of the handles together. Serge or finish the seams with a zig zag stitch. (Being that the play food your children will be carrying probably won't be as heavy as what you might get at the store, extra stitching strength here isn't as necessary as in the original tutorial.)
To finish your handles and hide the raw seam at the top of them, turn your bag right side out and stitch just under the seam or serge. It will look like this when done.

Now, just fill this adorable bag with all your lil' ones shopping goodies and let their imagination take over!

And since I was already at it, I had to make myself some as well, you know, since I just love this fabric and never seem to have enough bags when we go shopping anyway! ;)

I did make one addition to the pattern tutorial linked at the top...I added a pocket. Mainly because I really like to make use of ALL of my fabric, and the cut-out at the top of the bag comes out in the perfect shape of a pocket! How handy to hold your keys or coupons or receipts right???

Here is the pocket shaped cut out. You should have 4 of them laying on your cutting table right now!
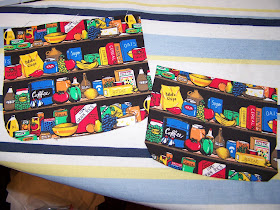
Iron the edge of the pocket, folding the top hem over twice so there is no raw edge.

Sew the top hem.

Pin the pocket to either layer of your bag depending on whether you want the pocket on the inside or out. You have plenty to do both if you don't want to choose! Stitch pocket in place on one layer of your bag. Carry on with bag making from the side sewing step or Step 2 from mentioned tutorial link above.


Enjoy sewing and proudly using your bags...I know your kiddos will, mine couldn't wait for me to get theirs done! :) 

Happy Sewing!

Saturday, March 24, 2012

Quick and Easy Gathering!

I have used this gathering technique from The Family Homestead almost exclusively since coming across it on the beloved Pinterest. It really does simplify the struggle that gathering ruffles can sometimes create. By providing a sturdy pull thread, the gathers come together quickly without breaking threads. Love it! (breaking threads makes for a very cranky mama!)

Here's an example of how I've used this technique recently.
I use yarn instead of the crochet thread like the original tutorial suggests. I have yarn on hand, it's very inexpensive and I've found it slides out of the stitches easier if your zig zag accidentally catches it, where the cotton threads want to become part of your ruffle. :) So, line up your yarn in the center of your presser foot and sew the yarn to the top of the piece of fabric you wish to gather using a zig zag stitch.
Then you simply gather as normal. However, The Family Homestead link above has some great tips on gathering as you pin so the ruffle fits the piece it's being attached to as you go. GREAT IDEA! I'm always having to let my gathers in and out! :) You'll want to check it out! Don't you just love learning new techniques that make your sewing experience even more fun!?
Ok, now you are ready to sew the ruffle to the fabric it is pinned to. The yarn can serve as the perfect stitch guide as you sew too. Just line the edge of your pressure foot up with the yarn and sew.
Once the pieces are attached, you can then pull the yarn out. If it won't come out all at once, picking it in a few different spots throughout the stitching will do the trick. No worries if you pick the zig zag stitching either as it has already done it's job!
All that's left is to turn, top-stitch and then admire your finished ruffly gathered goodness!
 I hope this helps others the way it has me!
Happy fluffy sewing fun!

Friday, March 23, 2012

Petite Kids WINNERS!!!


The winners of the Petite Kids pattern giveaway have been announced and show on the Rafflecopter Widgit here. They were
Entry #73Elisabetta
Entry #63Melissa D.
Entry #52Hueisei
Congratulations!
Each of you should have an email in your inbox from me. Please respond within 48 hours.

Thank you Petite Kids for such a lovely giveaway!
I am looking forward to sewing this sweet pattern from the Petite Kids collection soon!
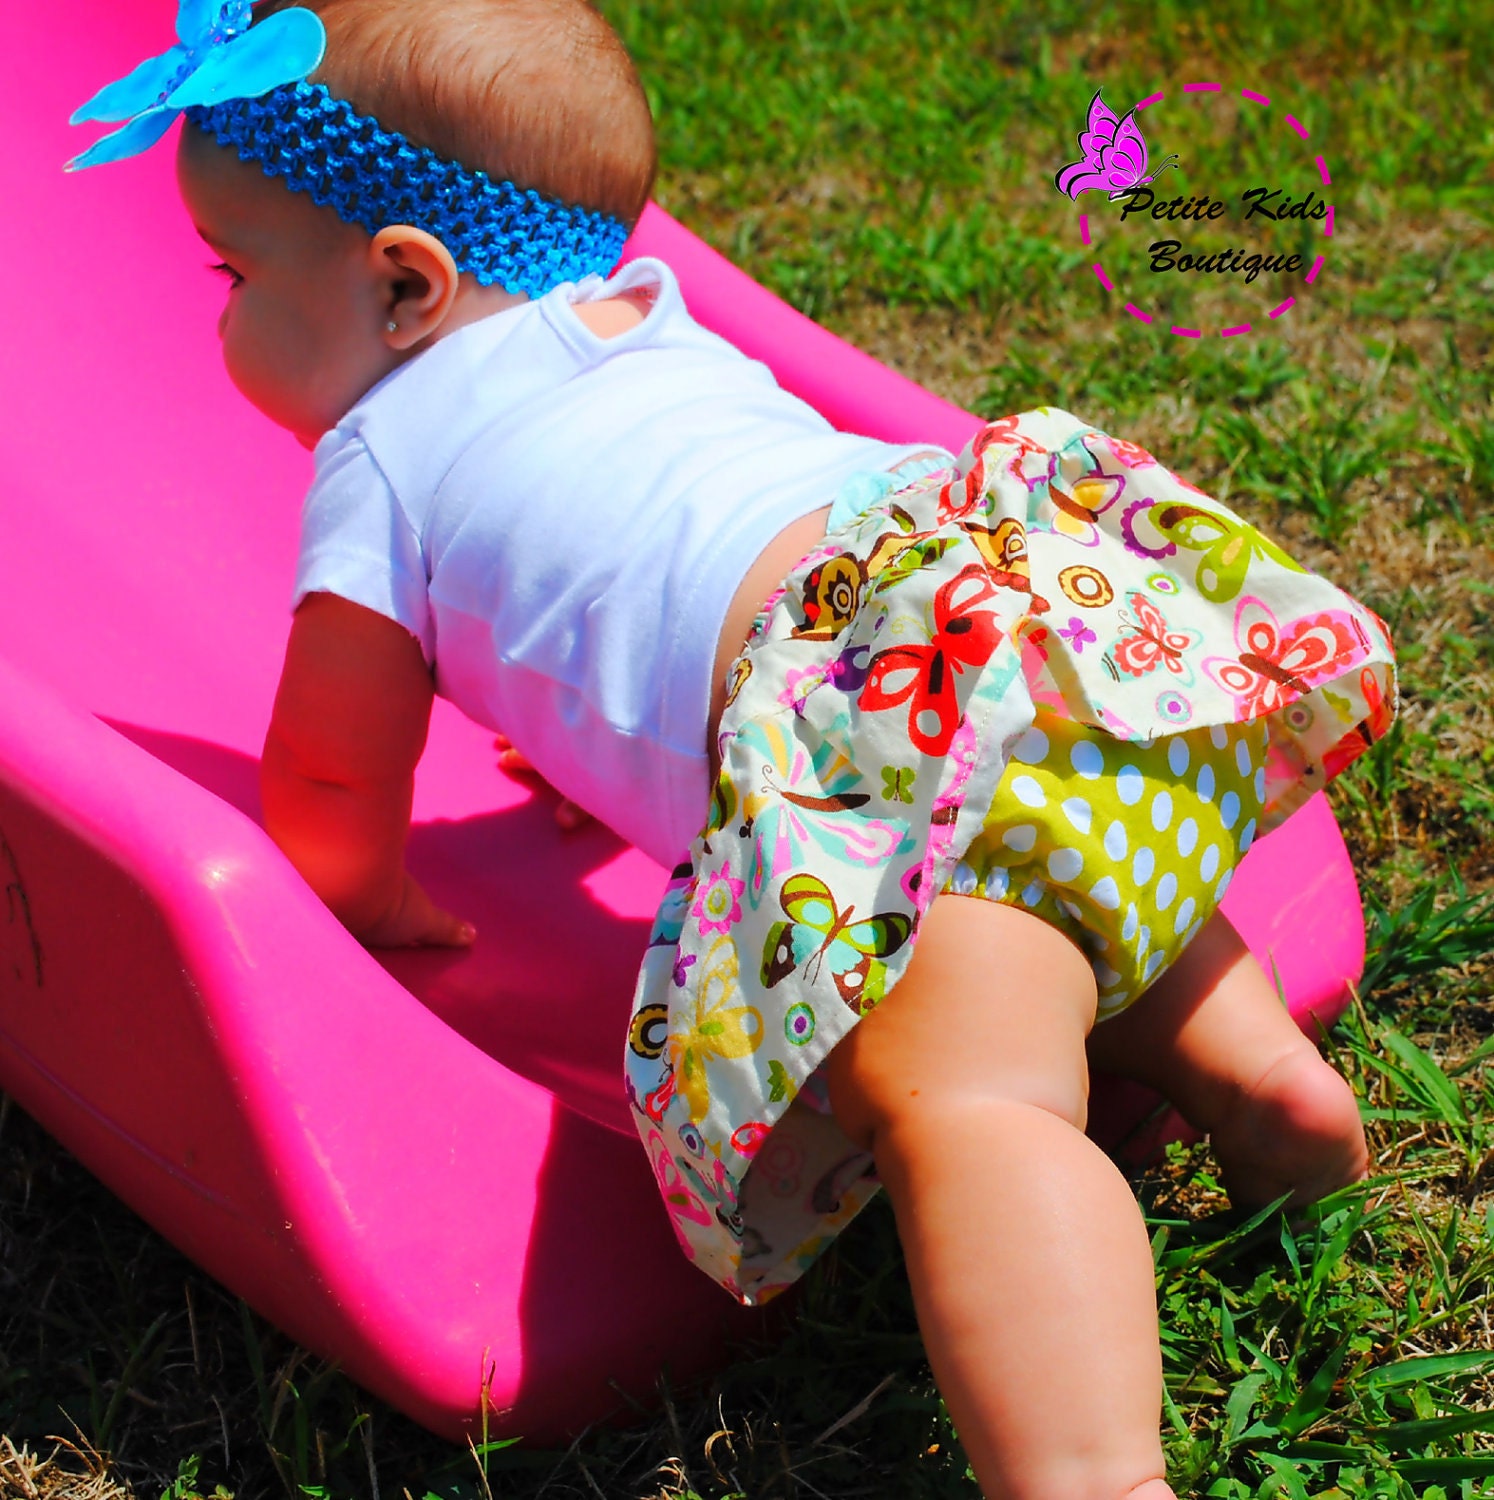
Lola Skirt by Petite Kids Boutique Sewing Patterns
Happy Sewing!

Thursday, March 22, 2012

Method to the Monthly Project Picks

Hi all! Hope you are having a great week! Been fighting a bit of a bug here that I hope is on it's way out! Not the best way to welcome Spring, but I sure do love Spring!


I've had a couple of people inquire about the method in which I choose the Monthly Projects here at Hopeful Threads and I wanted to share. :) Truth is that there really isn't a specific method.....or at least one I had thought very much about before being asked. It comes down to needs I learn of through individuals, groups or organizations I already have some kind of personal connection to. Needs that can be met through my ability to sew. As I explained for the March project, our family is connected to both the foster care system in our county and our local Children's Hospital, so both would be natural places for us to regularly donate to. Additionally, we have international connections in China, Cambodia, and multiple countries within Africa to name a few. When these folks share a need with us, we are eager and blessed to help! 
While I love to have your participation in the Monthly Projects here, I often encourage you to look within your own communities and connections for where to donate your handmade items. Again, it just seems natural to support things that have a personal meaning to you. However, I absolutely welcome your contributions to the places I donate whenever you feel particularly moved to do so. These are the reasons Hopeful Threads came to be after all.....to encourage others to use their gifts, talents and love for sewing to give back, while at the same time being able to regularly sew and share with others. Fun stuff that helps keep the fire burning and meet a variety of needs!

I am always happy to share about your own outreach efforts and charity projects! If you follow the Hopeful Threads facebook page then you are already aware of this from the variety of posts there. While I may not be able to jump in with every individual outreach.....thankfully there are sooooo many!....I am glad to at least help spread the word!
So there you have it....a little glimpse into the heart of Hopeful Threads! 
Please feel free to email me anytime to share your own outreach efforts or if you have questions or comments. You can also read more on the "About Me" page at the top of the blog.
And remember.....Every Stitch Matters!

Wednesday, March 21, 2012

Doll Panels = Easy Sewing!!!

By far, one of the absolute easiest ways to create plush friends is by using printed panels.
 Most of the work is done for you, you simply stitch, snip and stuff. 
The great thing is that most panels include the instructions right on the panel...
Panels are a great way to provide a hand made gift without being overwhelmed by the process! My girls all love their little doll panel rag dolls too!
 I made the little Modkid dolls for our monthly project in May 2011 and they were very well loved!
This is one of the precious recipients in China! Isn't she delightful!??!

Doll panels....a simple way to hand-craft a smile and a hug!