Showing posts with label DIY. Show all posts

Monday, August 3, 2015

I Made Shoes!!!

Have you ever made shoes??? I hadn't, but was so excited to give it a try! My friends at Dritz Sewing offered to send me one of their awesome new Espadrilles kits to try out and share my thoughts with you, and I'm thrilled to get to do so!

Aside from sewing baby booties, this was my first attempt at creating an actual wearable shoe. The packaging suggested planning 2 hours to complete the project, and I'd say that is reasonable. I finished in a bit over that, but I was sewing at a very casual pace while playing about the internet as well. :)
The instructions provided with the kit include step by step directions and illustrations that made the whole process very easy. The Espadrilles collection also includes a variety of notions designed specifically to assist in "shoemaking made easy".  While it isn't necessary that you purchase all the extra notions to create your own pair of Espadrilles, I'll share some of the ones that I thought made the process easier.
These glass head pins are one of the extra notions that I loved! They are a much sturdier pin which made pinning the fabric to the shoe sole easier and the strength of the pins kept them from bending.

Dritz Point Turners are one of my favorite sewing notions of all time, and it was a perfect tool for turning and smoothing the fabric before attaching to the jute sole. 
These handy Needle Pullers were GREAT for the blanket stitch process along the outer edge of the shoes. They provide a grip on the needle that makes pulling in through the thick jute and fabric easier. Prevents sore fingers too!

These shoes are so comfortable to wear! I was really pleasantly surprised at just how comfortable the jute was. And, there is a vast variety of sizes and color options to choose from.
Take a look at the selection on the Dritz website HERE. I'm kind of drooling over a bunch of them right now! All the kids have requested a pair of their own, so who knows, there may be a bit more Espadrilles sewing in my future!

 And one of my favorite things.....the bobbin tread! Isn't that great!?!?!?!

Pleased with the results and proud to say I have now made shoes!!! Too cool!
What about you? Have you made shoes? What did you think?

**Materials provided by Dritz in exchange for honest feedback. All opinions are my own.**
Photobucket

Thursday, July 30, 2015

Personalized Placemat Pillows Tutorial

 This is so easy it's almost embarrassing! LOL! 
Certainly one of the quickest and easiest pillows I've ever sewn!

I started with textured, black placemats I had found on clearance. 
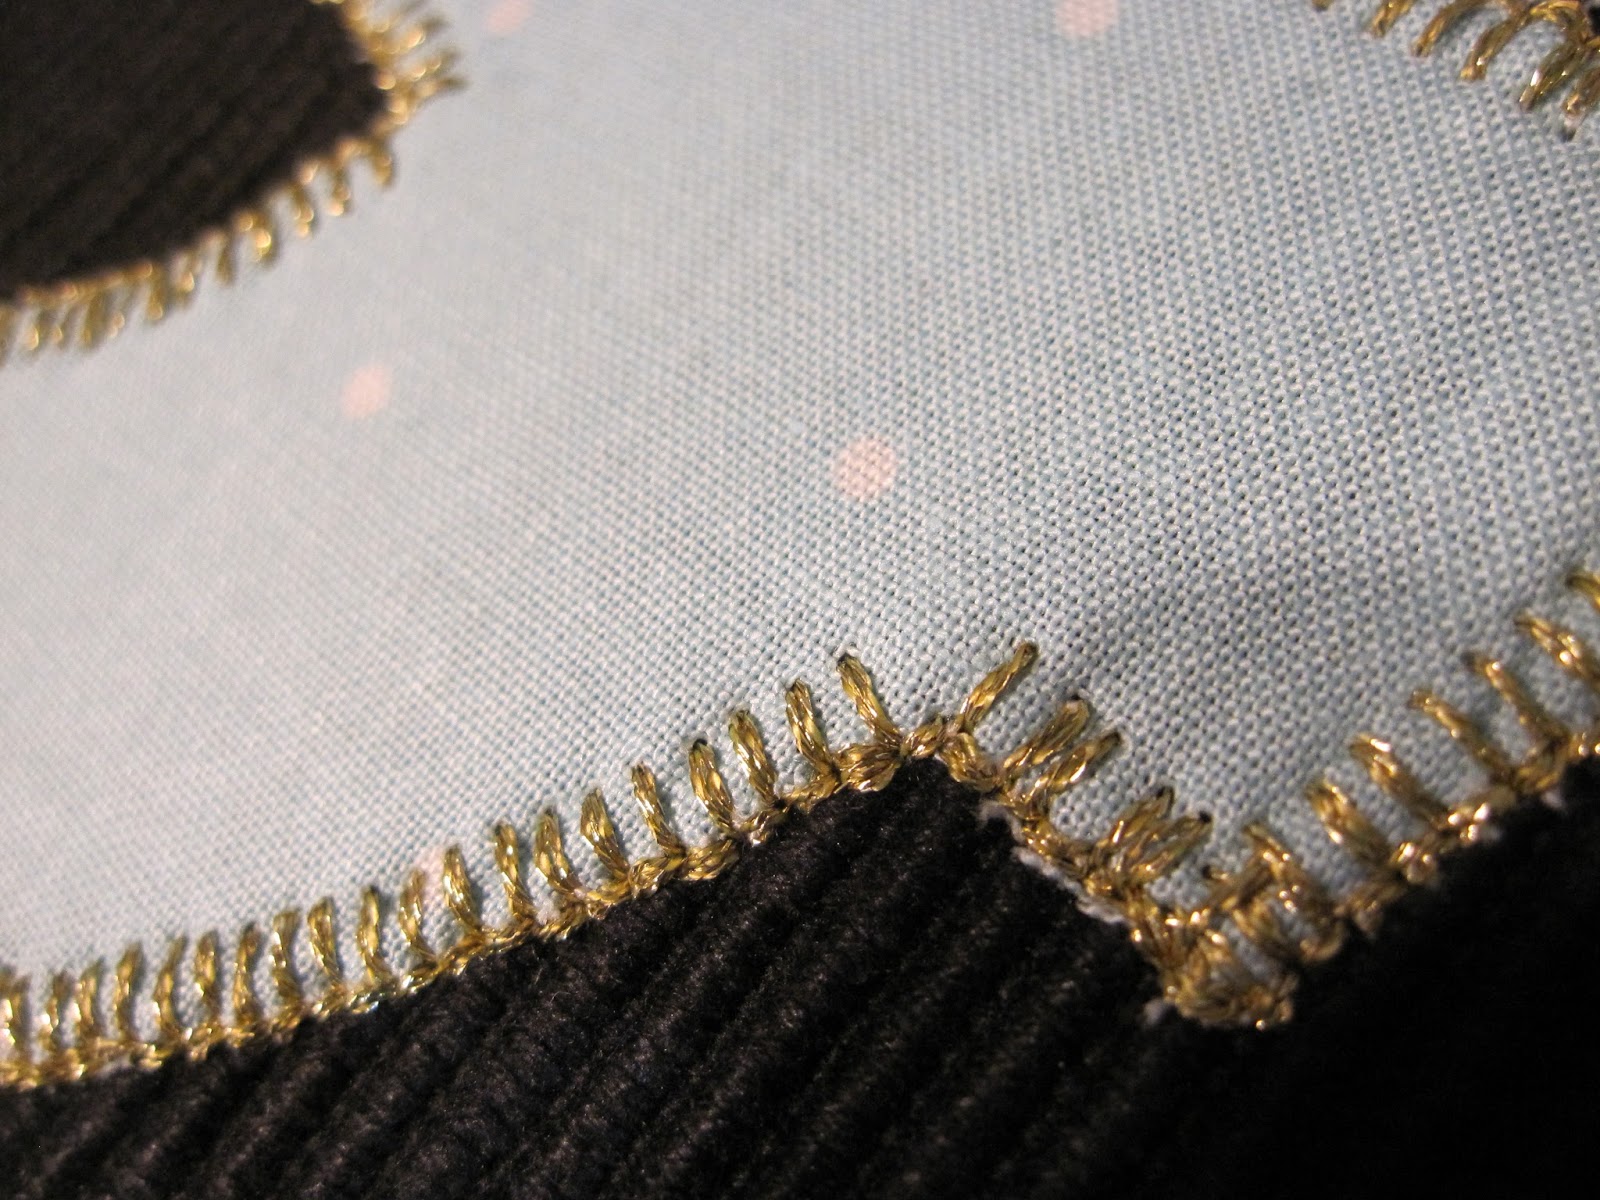
 Drew out the initials I wanted to fit the front and used iron on adhesive to attach to placemat for my applique stitching. I used a funky gold thread for the applique....my machine didn't like it much, but it turned out so pretty and was a nice added touch with the other gold accents in the room. 

 Once my initials were appliqued in place, I sewed the two placemats together, wrong sides together. I left a small opening, about 2 inches, to stuff the pillow. 

 Stuffed. Stitched. Fluffed and added to the pile!
A fast, easy and fun project to add personalization to any space!

For more creative Placemat sewing, check out my Petite Placemat Tote Tutorial HERE!

Photobucket

Sunday, July 26, 2015

DeStash!!!

I've started a new DESTASH account on Instagram where I will list various items from my stash as I sort and organize. Be sure and check it out!

If you aren't on Instagram and see something that you'd like, you can EMAIL ME and I'll be glad to pull it for you if still available. :) Just send me the PayPal email address you'd like me to invoice for total. And please, share with all your sewing/quilting friends that might be interested as well! 
Thanks so much!
Photobucket

Saturday, July 25, 2015

A Room Makeover Success!!!

Anyone else out there doing their best to keep up with the whirlwind pace of summer??? We are having a great time, but whew! It's been BUSY!

And if there weren't already enough on the calendar, my husband and I decided to take on a surprise room makeover for our oldest daughters while they were at camp. I'm happy to report it all turned our even better than we had hoped and was a TOTAL surprise to our girls! Worth all those long nights, full days and drives across town to find the perfect items to pull it all together.

My older girls share a room, so it's important that they have individual spaces to work, but also a nice shared space to enjoy together. I think this room has a great balance of both!

Here's a look inside...


I used remnants from some of the pillows I made for the love-seat to create these memory boards by simply pulling the fabric taught around a canvas and stapling.

The girls had fallen in love with this golden arrow print at Hobby Lobby before they had left for their trip, so I headed back over there to get enough to make these simple curtains. I also made the sash ties from an accent fabric. The tutorial I used for my guide while sewing these curtains can be found here. 

We painted one wall black to be an accent wall. I was a bit nervous about this at first, but absolutely love how it turned out! I made all the pillows except for the small one in front I purchased at the local bookstore we frequent. I wanted the pillow covers to be removable so they can be easily washed and well....in case my girlies change their mind on colors anytime soon. ;) The tutorial I used for my guide for sewing the pillow covers can be found here.  I'll also be sharing a super easy and fast sewing tutorial for some special applique pillows I made for their beds too....so keep watch next week for that!

Now, I rarely buy packaged, pre-cut fabrics, but when I found this perfect burlap print on clearance for $4 I knew I had to see if I could make it work for recovering their desk chairs. With a pretty good amount of hot glue and the muscle of my hub's staple gun, they turned out just as I had hoped! Not a bad deal for these tired old, worn out chairs to turn into such a fresh and fun addition!

A few old records from the thrift store for 50 cents a piece....a hand-me-down mirror from their Grammie....some cute little accent pieces found at various places, and we were super excited to have them come home to this extra special surprise! Their reaction was PRICELESS!!!

Hope your summer has been going great and you've had lots of fun sewing and creating as well! 
Photobucket

Wednesday, September 17, 2014

Button Bling! + Tutorial!

How about a little more button fun this week???
Today I'm sharing some "BUTTON BLING" we made up in a snap! Whether it's earrings or rings, I'll show you how quickly you can be stylin' with your favorite buttons. I have a "thing" for buttons, and often find ones that I don't have a specific project for, but love so much they find their way into my stash. This is a perfect way to showcase them so you can enjoy them regularly!

 For the rings you'll simply need...
Ring Base of your choice (we've bought these at Hobby Lobby & online on Etsy)
Colorful & Funky My Buttons from buttonlovers.com or JoAnn's

All it takes is a dab of that super strong E6000 glue like I shared in my Button Bows tutorial placed right on the center of the flat of your ring base. Center your button on the ring base and allow to thoroughly dry. Then, make another...and another! :)

All set for some fun & unique accessorizing!

The earrings are just as easy!
For the earrings you'll need...
Earring Flat-pad Studs (we found our's online)
Some SUPER CUTE My Buttons found at buttonlovers.com or Joann's.
If your buttons aren't flat backed, you'll need that handy Button Shank Remover to snip the shank off. Then, just a little dab of that super strong glue, center your button choice on the pad of the earring and allow to dry thoroughly. (Remember from before I suggested using this glue outside since it's so stinky!) ;)
 Aren't they adorable!?!?!?
And just think of the endless number of styles and colors you could have in no time! 

Once again, a BIG THANKS to buttonlovers.com for sending us all the awesome buttons for these projects as well! 

Photobucket

Tuesday, December 18, 2012

BIG NEWS! + Holidays Past - Tutorial Round-Up

In a moment, everything has changed for us.
Our family has just welcomed a precious little one into our hearts and home through foster care. This was a bit (ENTIRELY!) :) unexpected, so I'm likely to be out of the loop for a while as we adjust. I have a couple of posts ready to share with you, but this may delay our kick off for January as we take things day by day. Thank you in advance for your support and understanding.

Rachael at imagine gnats is planning a special auction to support the families of CT, so be watching for how you can be a part of that.

And, with Christmas just a week away now, here's a quick share of some of my previous Christmas tutorials I thought you might enjoy! Maybe one will be just right for a last minute project or gift you can create. :)
Dress up those jammies! This tutorial shows you how to add ruffles or cuffs to your favorite pants/shorts pattern.
MERRY CHRISTMAS!!!

Remember...

Photobucket
Related Posts Plugin for WordPress, Blogger...