This tutorial will show you how I turned these sweet gingham placemats into these even sweeter petite totes!!!
Using placemats is going to make the whole project go faster since they are durable and double sided and will not need interfaced or lined. However, you could easily modify the tutorial to use fat quarters, as the measurements of the placemats are 18 1/2" x 13 1/2".
STRAPS:
1st we need to make our tote straps or handles. I used the very complicated method of determining the width of the fabric remnant I wanted to use to determine the length and width of my handles. :) Basically, use what you have the best way. Mine ended up being about 5" x 20" each.
Fold and iron the fabric length wise to create a crease along the center.
Using the crease you just made, fold the sides in to the center at the crease and iron.
Fold the strap on the crease again and stitch along the long, open side. You can leave the ends raw, they will be covered in the next step.
Fold the end of your strap over about 1/2" as shown.
With the fold on the inside, pin your strap in place 3" from each side and about 1/2" from the top, as pictured, to create the handle for your tote bag. Sew in place. I like to sew a little rectangle to best secure the handle.
TOTE:
Now you fold your placemat in half with the handles at the top. Pin the sides evenly as you smooth the placemat out.
Stitch in place with a 1/2" seam allowance.
You now have a little "pocket" of sorts from your placemat.
To make the boxed corners, place your hand inside of the "pocket" pictured above and smooth the side seams into a point by flattening them.
Mark 2" down from the point.
Stitch directly across the mark just made. Repeat with the other side.
It will look like this on both sides when finished.
Turn your bag right side out folding the pointed corners you just made down into the inside of the bag.
That's it!
Seriously!
Now you have a darling little "Petite Placemat Tote".
And since they are so fast and easy and fun to make, you're going to instantly want to make another! :)
EMBELLISHMENTS & ADD-ONS:
If you'd like to add a pocket inside or out on your tote, it's super simple. Create your pocket by sewing and turning a square or rectangle from your coordinating fabric. Center and stitch the pocket onto the placemat BEFORE sewing the sides together.
For a ribbon accent, simply stitch your ribbon across the placemat before sewing the sides together.
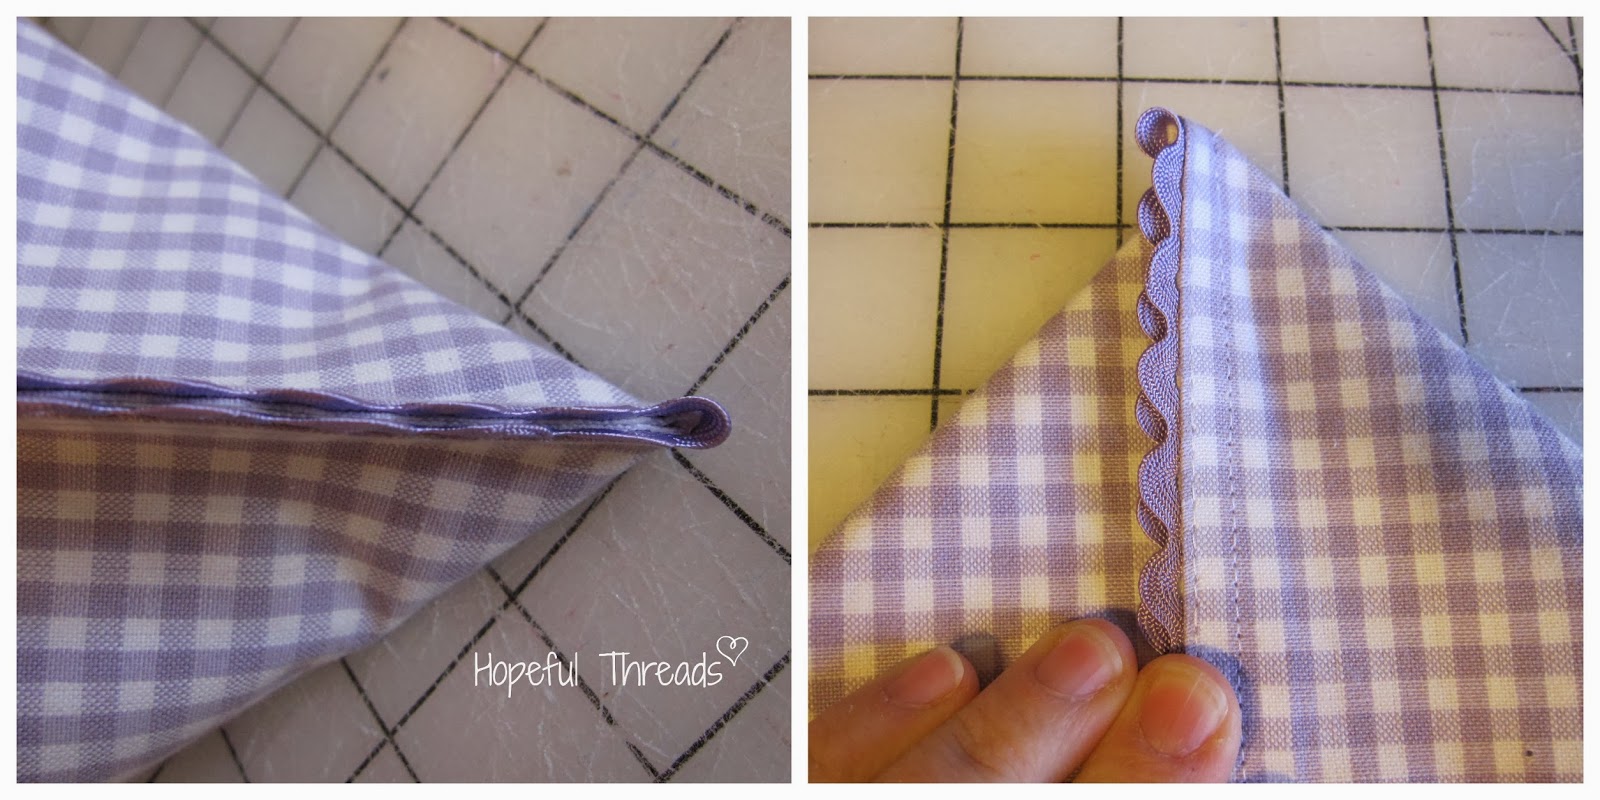
I was especially lucky with these sets of placemats as they already had this darling ric rac trim along the edges. :)
You can also add button, felt and bow accents to the finished bag as shown.
The best part....yea, aside from how quick and adorable these are....I found the placemats 4 packs on clearance for $1, making these bags just a little more than 25 cents each!!!! LOVE that kind of deal!
Can't wait to see your Petite Placemat Totes!
Have fun sewing!