Showing posts with label free pattern. Show all posts

Thursday, June 5, 2014

#TBT - A quick & useful Father's Day Gift....with FREE Pattern!

Father's Day is JUST around the corner! As in, 10 days away.
No worries, I've got you covered with a perfectly useful gift for all those awesome BBQ Kings! :)
Find the Downloadable Pattern & Tutorial HERE!
Happy Sewing!
Photobucket

Thursday, May 8, 2014

#TBT - Free FLUFF Sewing Patterns from Me to You!

Thought I'd jump on the little #TBT, Throw Back Thursday, bandwagon and share some past posts that might be helpful to some of you who may have missed them previously. Also a great reminder for those who might just not have thought of them. 

This week, I'm sharing 2 patterns and complete picture tutorials that I've offered for FREE! These would  be perfect for our current sewing project, and can be done with small amounts of fabric. 

First up is Whaley & Starla, a darling seaside duo.
Find it HERE

And then also, we've got Fin & Polly, our FLUFF Monsters! 
Find it HERE
Hope you enjoy and would love to see these added to our project album as donations this quarter! :)
Get all the details about our 2nd Quarter Project HERE!
Photobucket

Friday, October 11, 2013

Monster FLUFF!!!! Free tutorial and pattern template!

I recently had the pleasure to work with the creative folks over at ButtonLovers.com. We collaborated on a few fun, button embellished projects, and this is one of them I wanted to be sure you didn't miss! 

Meet Fin & Polly, my Monster Fluff Friends! 


While I welcome you to use this pattern/tutorial to sew for the children in your lives, if you do, I also ask that you please find a way to Give Back using it. One great option is to support children in foster care, just as our FLUFF Project does on-going. 

Thanks and enjoy! Can't wait to see your creations!
Photobucket

Friday, June 14, 2013

You remembered DAD right????

Father's Day is THIS WEEKEND! 
If you need something perfect and quick to sew for all the dad's or dad-like figures in your life, be sure to check out my "Big Daddy's XL Oven Mitt" pattern/tutorial!

Hope you all have a wonderful weekend celebrating the men in your families!
Photobucket

Friday, May 3, 2013

FREE PATTERN! Dog Bandana from Aivilo Charlotte Designs

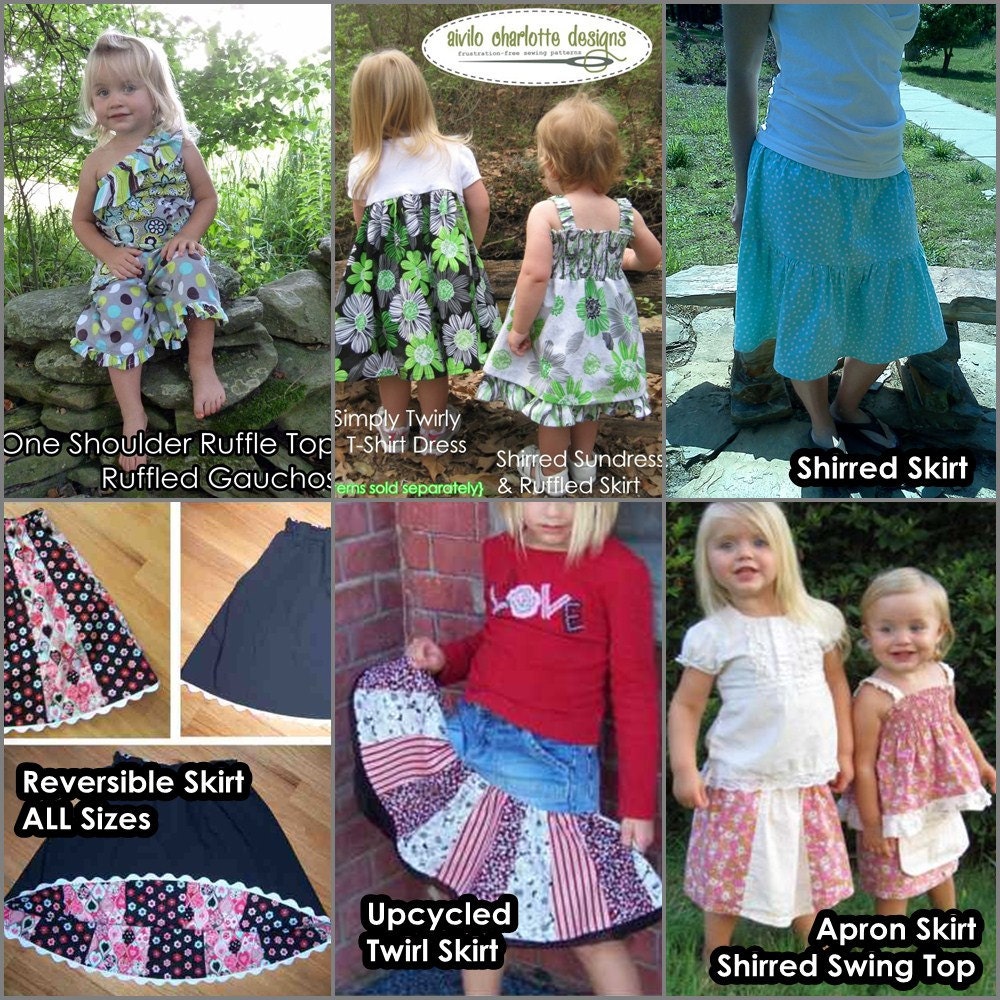
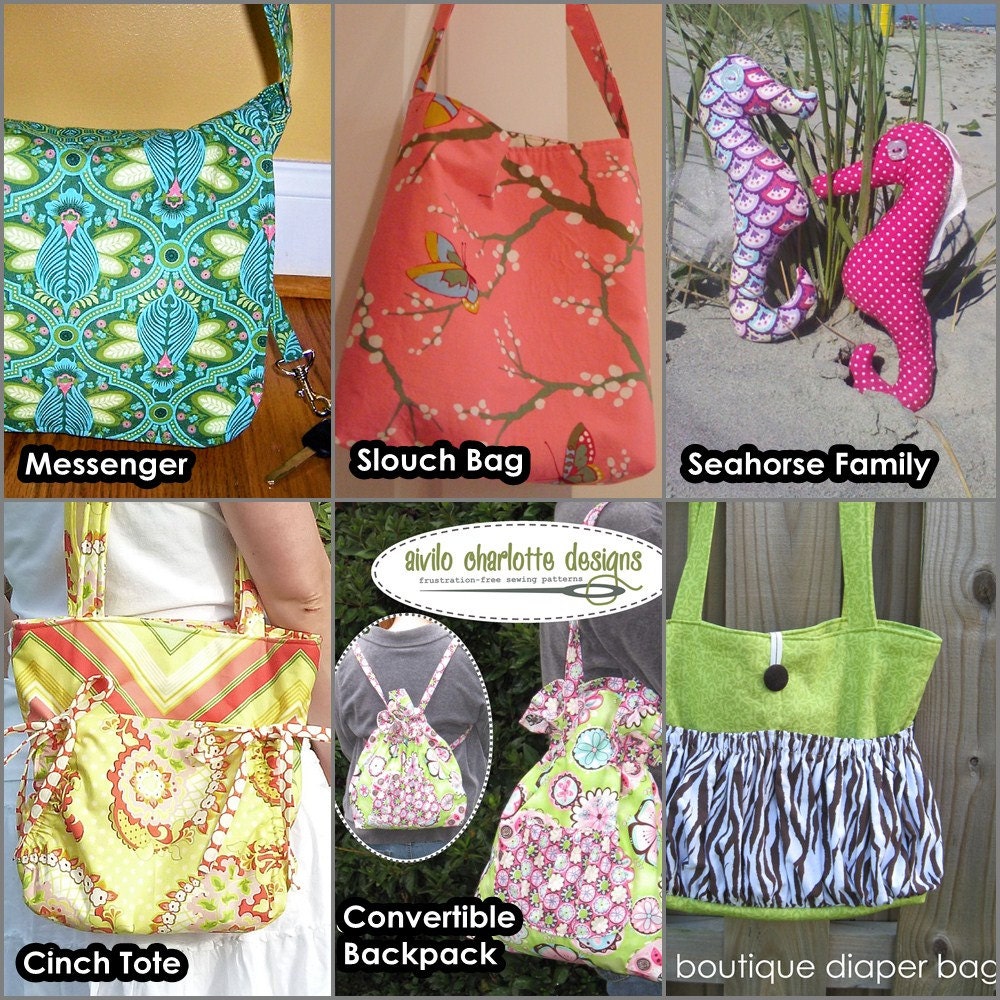
I think you all are familiar with our fabulous sponsor, Aivilo Charlotte Designs

Lisa, the owner is a BIG animal lover too....particularly pups. :) She advocates for their care and adoption regularly. So, I asked her if she'd create us a special pattern for this month's project, and she has!!! 
+++++PLUS!+++++

She's offering it for FREE!!!
Be sure and take a minute to drop by her facebook page and say "THANKS!" ok?

THEN, head over to her Craftsy shop and download your free pattern for her new Aivilo Reversible Dog Bandana Pattern.
This sweet pooch accessory is a snap to make!
I had one for our Sophie made in no time!
(She's eyeballing the piece of roast beef the kids were using to "treat" her for modeling! lol!)

While you're over there, you are going to want to check out all the other fabulous she has to offer too! There's a great assortment starting as low as $2!
Bundle discounts in her etsy shop too!

THANK YOU Aivilo Charlotte for our support and generosity!
Find Aivilo Charlotte Designs....
Photobucket

Monday, March 4, 2013

Big Daddy's XL Oven Mitt TUTORIAL!

Funny name right?
Well, let me explain....
I am a very lucky lady. Hubs does most of the cooking around here, and frankly, he's good at it! So, when he started complaining that he could never find an oven mitt to fit his large hands, and when it did actually fit his hand, it was hard to get into since the opening was small, well, I knew I had to fix that! I traced his hand, and came up with a larger oven mitt with a wider opening and made him a pile for Christmas! 
And, since it ties in perfectly with our project this month, I decided to write a tutorial with pattern and share it with you in case your "Big Daddy" would like one too. ;) It's the oven mitt I'm using this month since it will easily fit all hand sizes. 

Here's how to make your own....
Print the templates and tape together as required.

You will need fabric for the lining and outer of your mitt, along with batting and insulated batting/fleece (I used Insul-Bright). Cut 2 of each. I used muslin for the lining on all of mine. 
Keeping your lining fabric right sides together, sandwich it between your 2 batting layers and pin together as pictured. Sew around the outside edge all the way around except for the bottom, with 1/2" seam allowance.
 Quilt the outer layers and insulated fabric layers together however you choose. I'm practicing my quilting techniques, so I did a variety of different stitches on all of mine. It was fun to see how each turned out unique too. :)
Stitch your now quilted outer layers right sides together with 1/2" seam allowance. (again, leaving the bottom open!)
 Carefully clip the "V" shape between the thumb and fingers, and remove the clipping completely so your mitt will lay smoothly once turned.
 Continue trimming around the stitching of both your inner and outer pieces. I suggest using Pinking Shears for this step since there is so much rounding along the edges. This will again help the mitt to turn and lay smoothly, and will keep you from having to cut LOTS of little triangles along the curves. See my Pinking Shears tip here.

Now you are ready to turn your outer piece right sides out. Keep your inner piece wrong sides out and carefully slip it inside of the outer piece. Line up the bottom edge opening and neatly pin all 4 layers around the opening. Stitch in place. Trim neatly to about 1/4" from your stitching.
 Time for the finishing step, binding!
You can make your own binding as I did on some of mine, or the easier option is to use a package of Extra-Wide Double Fold Bias Tape. 
 Carefully pin the bias tape around the outer raw edge.
***TIP***
If you aren't familiar with bias tape, something important to point out here....as you can see in the picture below, one side of the bias tape is slightly wider than the other. By placing the wider side on the INSIDE of the project you are sewing and stitching on the more narrow side, you are more likely to catch the underside while stitching. :) Handy huh? I remember the "AH HA!" moment that occurred when I first learned this! Revolutionary sewing I tell ya! ;)
 When you get to the end, simply turn your bias tape in at the raw edge and continue stitching. This can be kind of bulky, so take your time so you don't break a needle. Not that I would know anything about that. A Walking Foot or Even Feed Foot helps a lot too with the thickness of this project.
You can of course stitch the bias on with any stitch you prefer, but I have found that the 3-step zig zag works nicely to insure that both the inside and the outside of the binding are securely attached. 

Now you are ready to stand back and admire your work! And then sew another & another because they are so much fun to make!!!! :)
 They are also a quick-to-sew and perfect donation for our March 2013 Project!
Needless to say, Big Daddy is cooking in style now! :)
 Hope you Enjoy!
Photobucket

Monday, December 26, 2011

Penguin PJs w/ free Applique Template

After lots of cutting and ironing and stitching and drawing and stitching some more, our Penguin Jammies for our Christmas Eve tradition became a reality!
Best part, everyone loved them and made it all very much worthwhile!

And since penguins are super cute and not just for Christmas, and since I made a template for the applique on our shirts anyway, I thought I'd share it with you all in case you'd like to make your own penguins. They are super easy and can of course be personalized in a variety of ways.

 Access the template in PDF here.

I simply sketched a basic shape and then created the layered pieces. Each piece is included in the applique template you can print out above.

Cut the pieces from felt. I made very traditional penguins, but you could have a lot of fun making the belly from different printed felt or fabrics. 
Pin the pieces to your shirt and embellish however you'd like. 
You could use felt for the eyes too, but I went with buttons. Other fun additions could be bowties, scarves, hats, snowflake buttons scattered about....anything you'd like.
 Stitch everything in place and your done!

We had quite the adorable penguin parade around here for Christmas!
Hope someone else can enjoy our lil' fella too.

Saturday, December 17, 2011

A Softie Stampede!

 When I saw the free tutorial for these adorable stuffed elephants posted over at Riley Blake, babe was sitting with me. She immediately began jabbering all about that elephant and making her insanely cute elephant sounds. Just call it motherly instinct, but I knew I was going to be sewing an elephant very, very soon. ;) 

And so became babe's newest friend who will find her way under the tree to be discovered and enjoyed.
I chose buttons eyes and of course had to add the perfect lil' tag to finish her off!

She was so cute and so easy that I made a few extra in neutral prints for a friend to distribute with other toys at our local homeless shelter. I hope there is another little boy or girl that is just as delighted to have a new little friend to love and cuddle.

 My favorite part are those EARS!!!!

A few remnants of fabric, the free pattern and a little sewing time and you've got yourself your own too cute Pachyderm Plushie! Sorry I just couldn't help myself! ;)
Happy sewing and stuffing!
Related Posts Plugin for WordPress, Blogger...